ENJOYING TRAIL CAMERAS IN THE FIELD
19 October
Hunting and Wildlife Magazine - Issue 216 Autumn
WORDS BY: TERRY AUSTIN
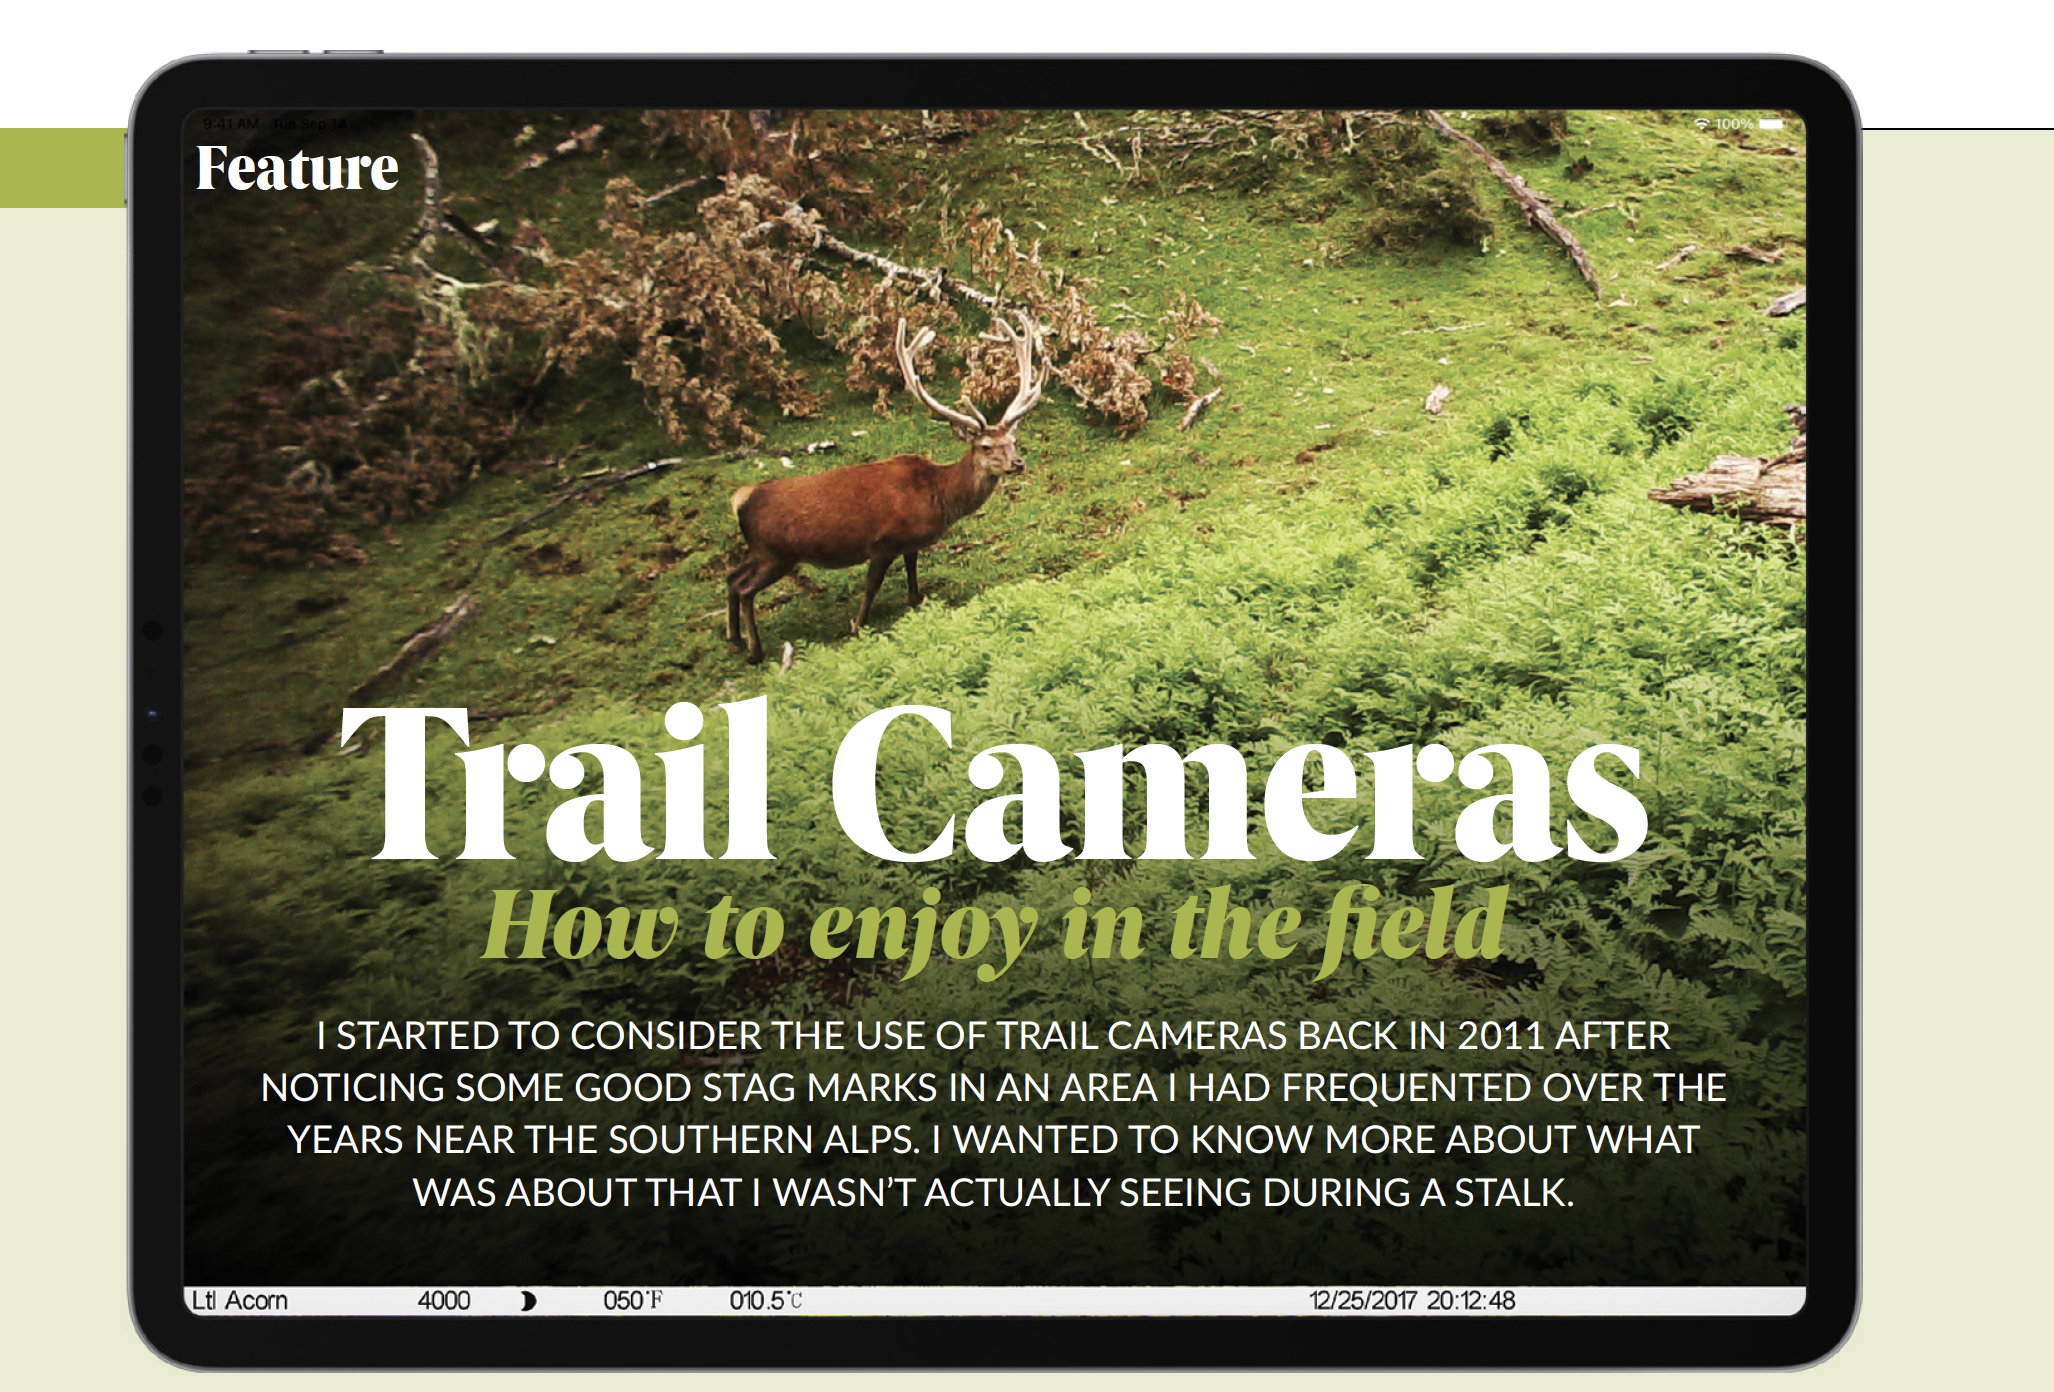
I started to consider the use of trail cameras back in 2011 after noticing some good stag marks in an area I had frequented over the years near the Southern Alps. I wanted to know more about what was about that I wasn’t actually seeing during a stalk. Trail cameras were starting to make their presence felt here in New Zealand for a variety of tasks such as farm security, Department of Conservation bird/pest monitoring and for outdoor enthusiasts and hunters like me.
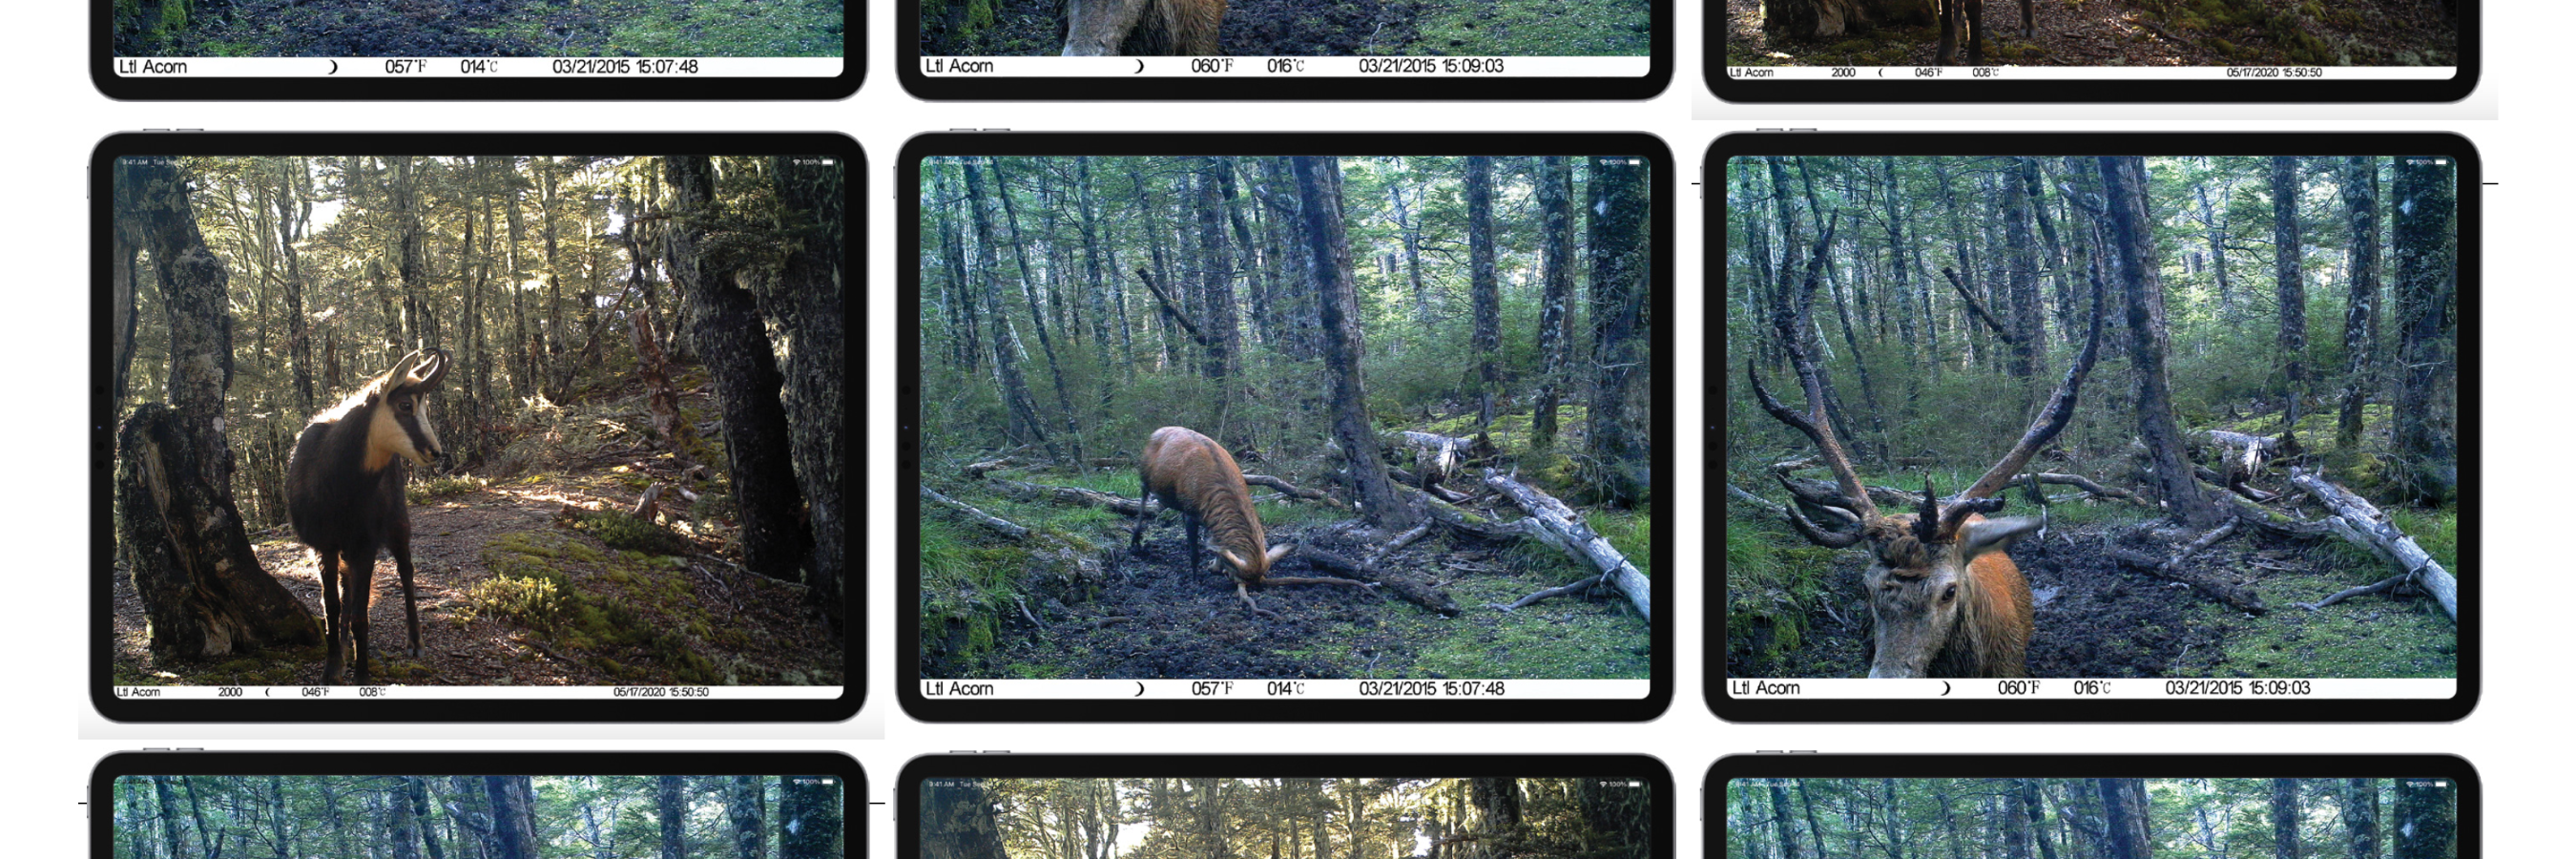
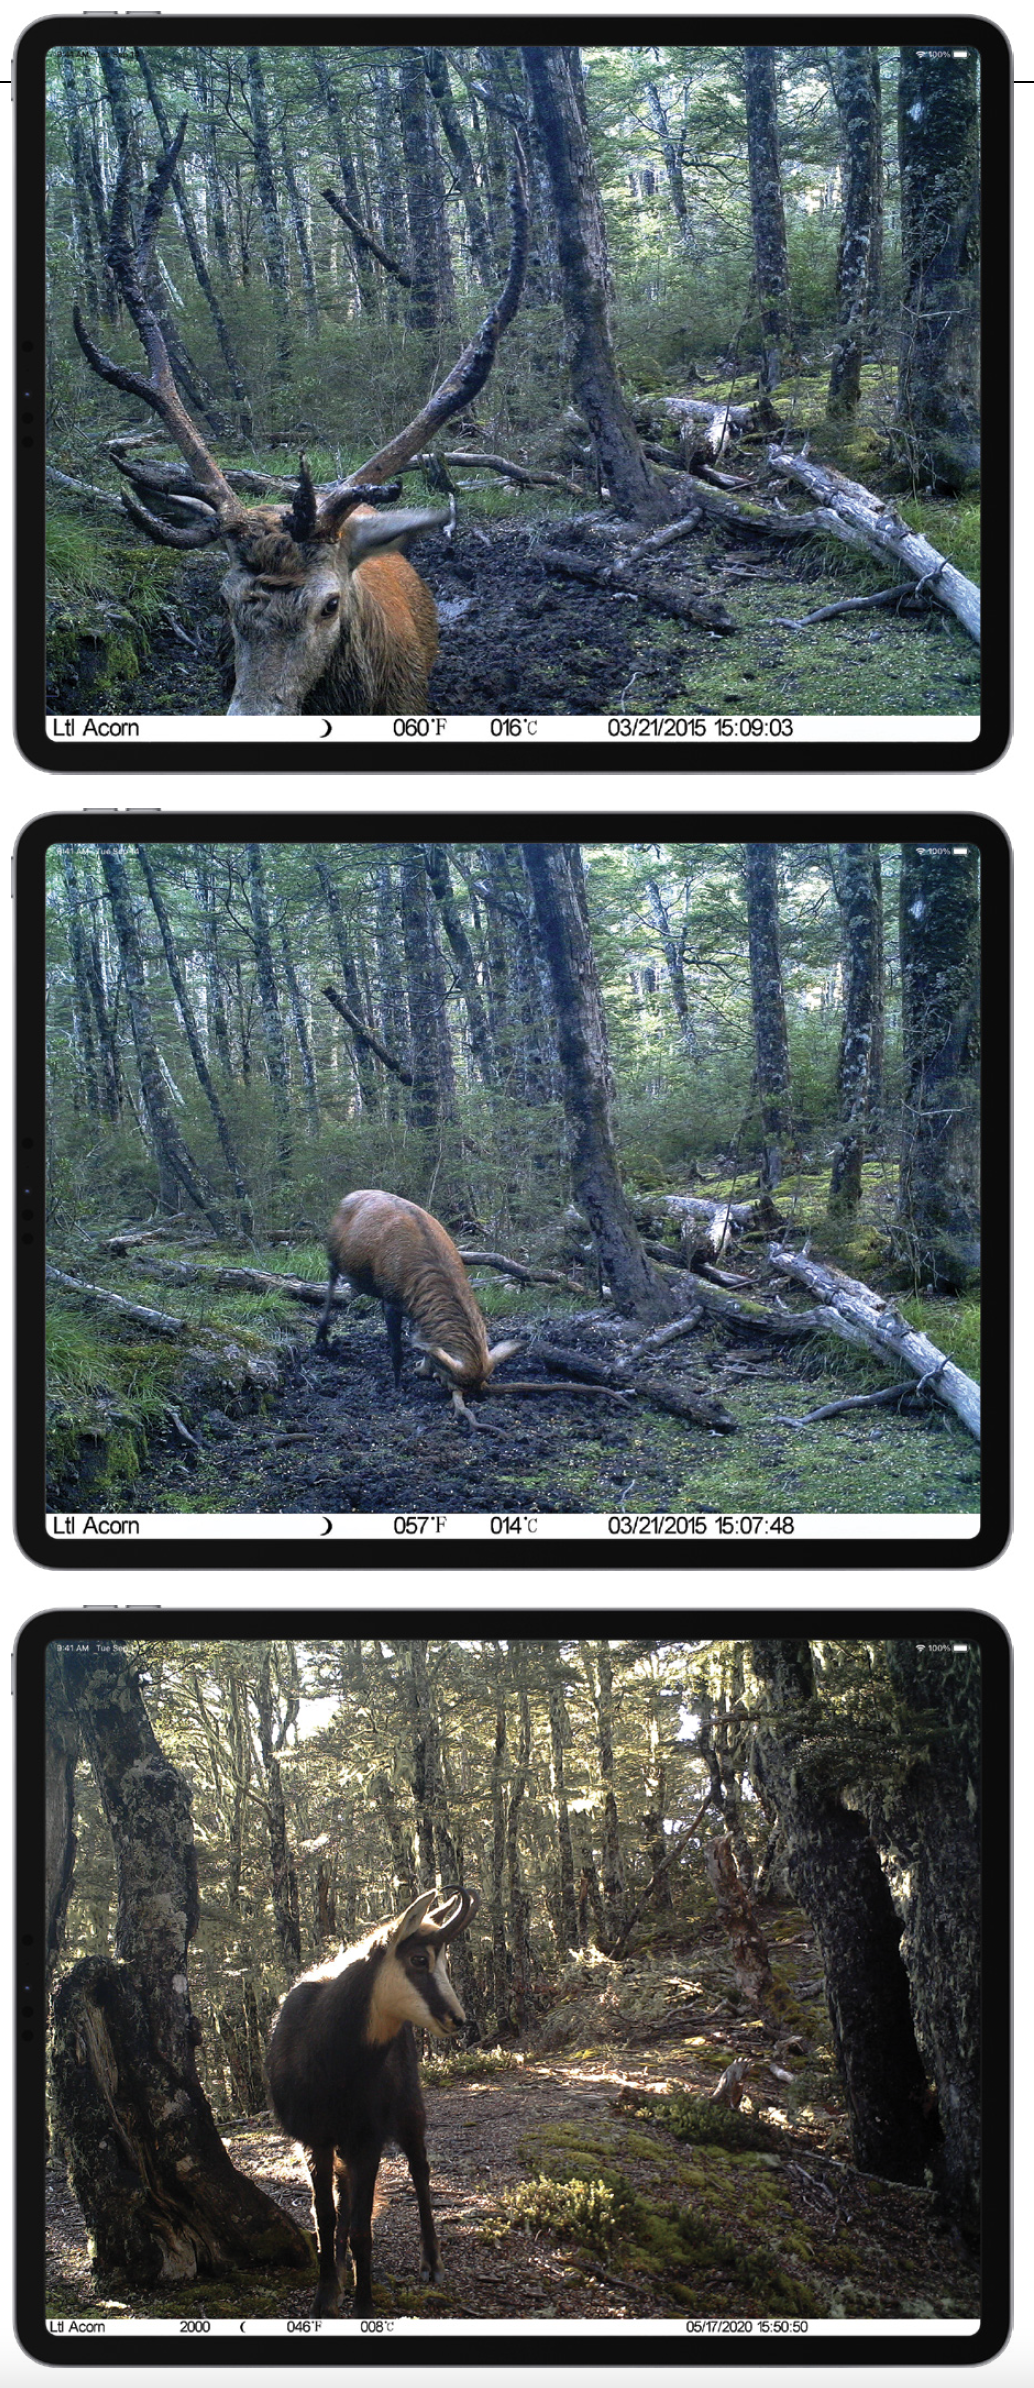
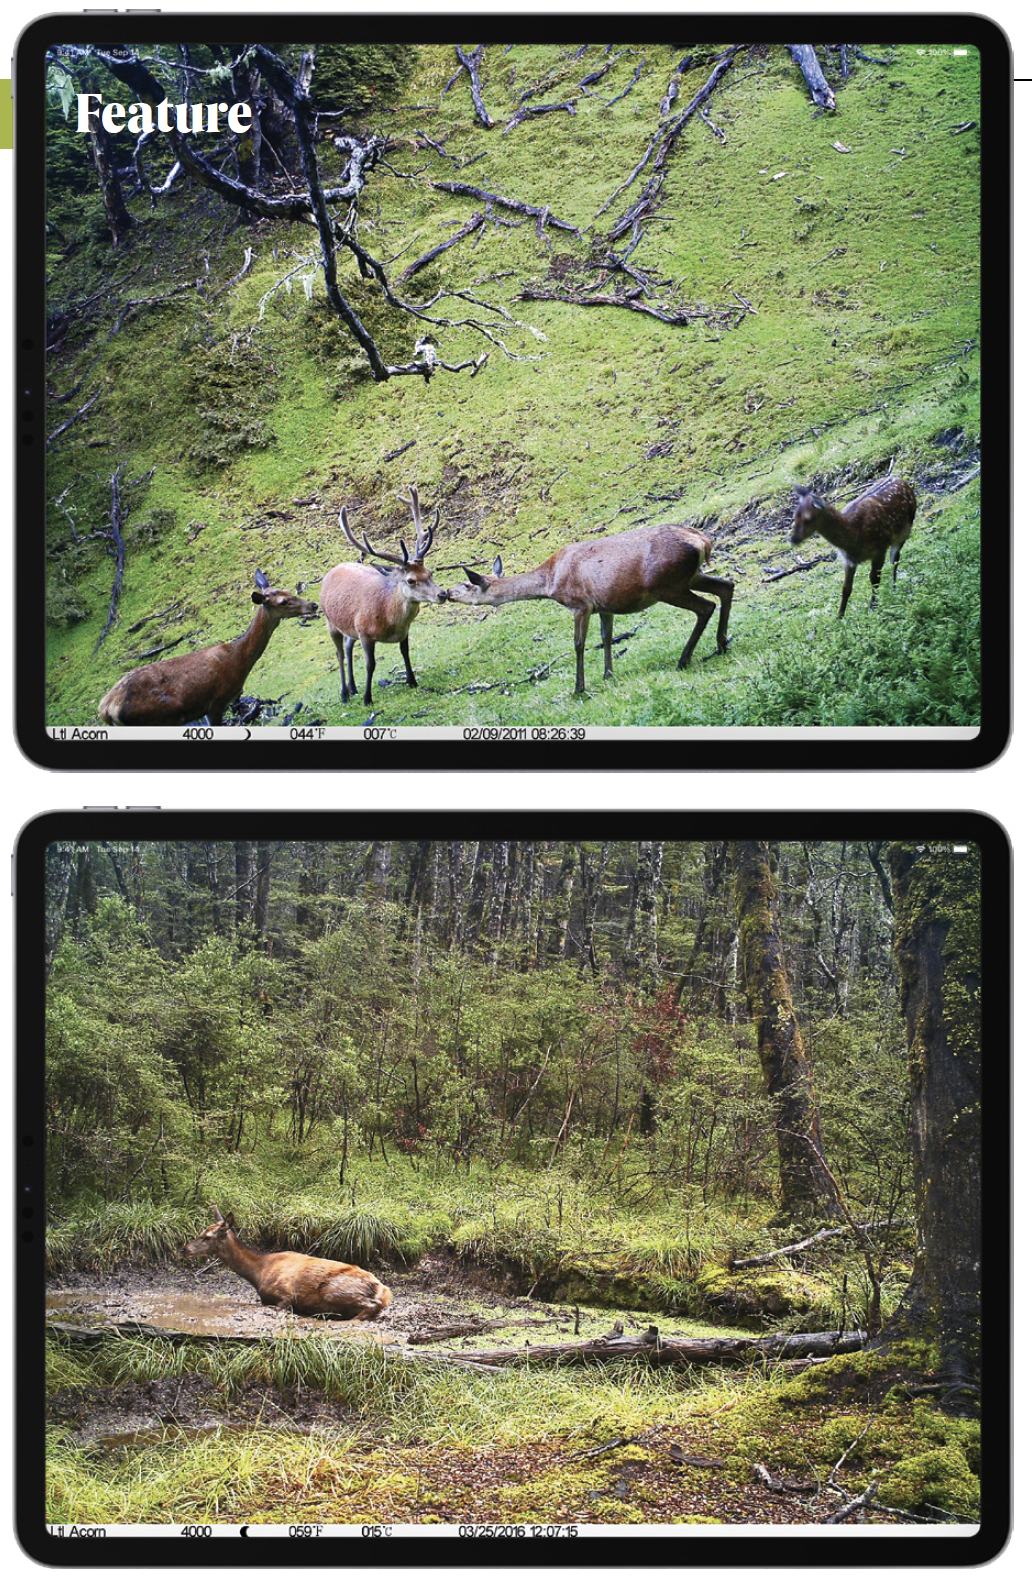
My first trail camera purchase was made online in 2012 after comparing camera data with other similar products. I settled on the Ltl Acorn model that cost about NZ$300 for a basic model which was comparable to others in the same mid-range. Also, the Acorn cameras are rated weatherproof. I can now attest to this as being accurate. I have had all my Acorn cameras in rain and snow, and it was only recently that one camera decided enough was enough after many years of service. I now have five Acorns which have been various upgrades of the first model. My latest trail camera is another brand, the Browning model which has a nice easy menu and a compact size without losing picture quality. One thing I did make sure before purchasing was that they would take the common AA lithium battery. Some models don’t. My cameras take between 8-12 batteries depending on the model type. Most trail cameras take SDHC cards which is great for reviewing on my digital camera. Most recommend SD class 10 of 8 GB or more, especially when recording video. I generally use 16 GB cards. My Acorns are usually programmed for a three-photo burst, i.e., one after another when activated over a few seconds and then 30 seconds of video footage. A good combination I find but the user can vary this on the menu settings, which include a time elapse mode. Not all trail camera brands can do both photo/video in one session, some either have to be pre-set for taking photos or video only. Though you can review on most trail cameras, I find this a bit tedious working with the menu functions on the Acorn models. It doesn’t help that I need reading glasses to read the tiny menu but that must be an age thing! There are pros and cons with each model, some have better functions, while some run good pictures but poor video. I decided after getting my fourth Acorn camera and comparing others online that video was still lagging behind in most trail cameras, but colour pictures were quite acceptable with black and white reserved for poor light/darkness. One positive aspect I was looking for and found in the Acorn models was an invisible flash known as ‘black flash’ with no glow. This meant that when an animal passed the target area of the camera lens there would not be an obvious white flash from the many infrared LED diodes coloured purple/black that might spook the animal. This feature is even more important if used for farm security, a person would not realise that they are being photographed/videoed with the no glow LEDs.
One of the best places I found to set up a trail camera was where deer were known to frequent, like a well-used deer trail, wallow or clearing. Do your research first to minimise setting the trail camera in a dead area. Locating a tree in the right spot to attach the camera strap or screw in an attachment to support the camera body spot is always the hardest part. About one metre off the ground is standard and you need to take into account the ground sloping away, down-hill especially, otherwise you might just get a number of head shots or worse still a glimpse of tantalising antler. Once the trail camera is turned on to record, you usually have about 10 seconds or longer to get clear before the camera will start taking images.
One important point here is that I do find that possums are a bloody nuisance! Anything new in their area seems to attract them with a number climbing over my cameras and upsetting the camera angle. They also like the camera body and often I return to find the plastic corners chewed, which is confirmed by the camera pics when reviewing. Must be a South Island thing? Never had a mouse/rat do the same thing that my photos have shown. Initially getting the position of camera facing the right way, south or north to avoid as much sun glare as possible can be a challenge as nature does not put all trees in order. I have pre-cut 2 litre black coloured ice cream containers that I can tie around the tree to offer some shade from direct sun light as required. There is a wealth of information available online on the best methods to secure a trail camera in the field.
I generally set my trail cameras in the field for approximately a month but have had some sitting out there for four months on one set of batteries. Manufacturer’s data shows they can last up to six months, some models even longer. A couple of issues to consider though – if left too long, you may end up for a 1000 plus pics/video to sort through which could take some time! Most trail cameras appear to handle up to 10,000 photos so beware of what false activations with sun/birds/rodents might cause. Secondly as a hunter I prefer to keep in regular contact with my trail cameras to see what’s in the area so have to plan my trips in advance taking into consideration weather conditions to ensure I can get into the mountains to both service the camera and go for a hunt.
There have been some funny, frustrating and surprising moments when reviewing the pictures on the SD card. One of those funny moments was when a red hind, with the camera on video mode, slowly walked up at night suspiciously eyeing and sniffing the lens. When the black flash went off, you could see through each eyeball. The deer ran away only to return to the camera for another photo session. Deer can be very curious. I find human scent does not appear to be a big factor with the trail cameras. I have had some deer walk close by on the same day I set the camera up but take a leak nearby and it will clear the area.
Another time I was checking through the card and found about a hundred or so pics of a spider which decided to park up on the lens, activating the camera every time it moved. It was three or four days before it finally moved off. Another surprising event was a nice red stag wallowing near the camera just before the roar who decided to take it out on the tree that my camera was attached to! The antlers just clipped the camera body, tilting it slightly. When you approach your trail camera and see the marks, you just can’t wait to look at the photos. Recently I was quietly stalking up to my Browning camera and caught sight of a flash of red moving between trees. It was mid-morning and a bit windy in the bush. Raising my binoculars confirmed two hinds, a fawn and a young stag in velvet in the background. Removing my camera from my daypack I was able to creep forward and start clicking pics of the deer before they eventually heard me and ran off. My Browning trail camera had taken the better photos however, the deer were closer and more relaxed. Another interesting occasion was when I had some pics of a reasonable Chamois caught low down in the bush by a creek on my trail camera. Quite rare as it hasn’t happened since.
So how many deer have I taken with the rifle that were first seen on the trail camera? Well very few to date. During the velvet period more stags congregate together to feed in the same spot then move away to their own areas closer to the roar – I am talking about potentially big stags here. One time during the roar with a colleague, I shot a heavy timbered stag that later I compared to a photo from one of my trail cameras that showed him to be the same animal. I have also seen a good stag in hard antler from an earlier photo in velvet but mucked up the stalk. This has happened a few times over the years. I am hunting public land so other hunters share the area where stags I have seen previously may have been shot by another recreational hunter or WARO. On another occasion one of my cameras recorded a three-legged hind in the snow. The following year about a kilometre away from the trail camera I saw it while hunting. I decided to take the animal having watched it for a while. Aside from a smaller left shoulder, she appeared in good health.
In the end using trail cameras for deerstalking or for other game species can become a hobby in itself and starts to consume a bit of time but also gives an appreciation of what is actually happening while you sit at home. You will also get a better understanding of deer habits and how far they move between areas, especially if they are seen on other trail cameras you have in the hills. It’s great fun.
Write for Hunting and Wildlife

Shop Hunting and Wildlife

Join NZDA To Help Us Advocate on Your Behalf